Initial Phase - Adding Narrative Information
Narrative Information is the data that has been collected from observations, assessments, and/or performance of the selected student. They are essential to the tracking and understanding of the student's progress in the areas of goals, objectives, behavior, and ability. If you would like to add Narrative information for the selected student, follow the steps below.
ACCESSING THE STUDENTS AREA
To add information for a selected student or students, you must access the Students area. This area will appear after you click once on the Students Button on the Main Menu Bar. The Main Menu Bar will be at the top of the Main Page after you log-in. The words "Main Menu" will be darkened to distinguish it.
NOTE: If you have been working in another area of EasyIEP TM (i.e. Schools, School System, Users), and theMain Menu Bar is not at the top of the browser Page, click once on the Main Menu Button of the existing menu bar at the top of the browser Page. This will take you to the Main Page. The Main Menu Bar will be at the top. Click once on the StudentsButton to access the Students Menu.
ADDING NARRATIVE INFORMATION
Step 1 - Criteria for Selecting a Student
Step 2 - Accessing the Narrative Area

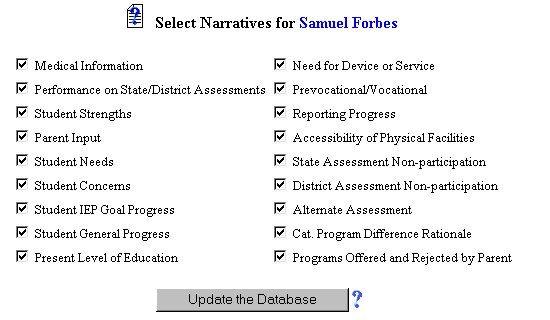
Step 3 - Selecting Narrative Areas

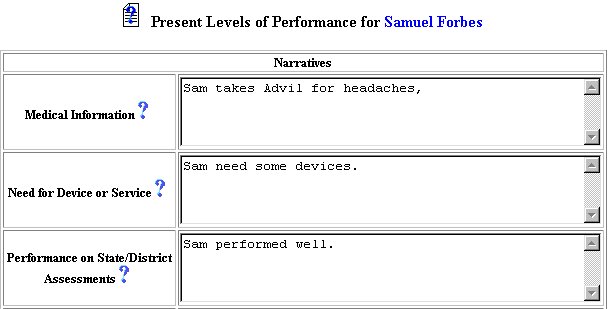
Step 4 - Adding Narrative Information

The Adding Narrative Information part of the initial phase is now complete for the selected student. If you wish to continue the initial phase for the selected student, click once on the Goals & Objectives Button in the Students Menu Bar.
If you prefer to go to another area to enter IEP data, click on thatButton in the Students Menu Bar at the top of the Page.
If you prefer to access another part of the database (i.e. Schools,Users, etc.), click once on the Main Menu Button of the Students Menu Bar to access the Main Page and the Main Menu Bar.