Initial Phase - Adding Custom Accommodations
Accommodations are the special considerations that will ensure the best possible success in achieving annual goals, completing objectives, and accomplishing a positive school year for the Special Education student.
This section describes how to create custom accommodations for any category deemed appropriate by your School System. To create a custom accommodation, follow the steps below.
Accessing Student's Area
To add information for a selected student or students, you must access the Students area. This area will appear after you click once on the Students Button on the Main Menu Bar. The Main Menu Bar will be at the top of the Main Page after you log-in. The words "Main Menu" will be darkened to distinguish it.
NOTE: If you have been working in another area of EasyIEPTM (i.e. Schools, School System, Users), and the Main Menu Bar is not at the top of the browser page, click once on the Main Menu Button of the existing menu bar at the top of the browser page. This will take you to the Main Page. The Main Menu Bar will be at the top. Click once on the Students Button to access the Studentsarea.
Step 1 - Accessing the Accommodations Page
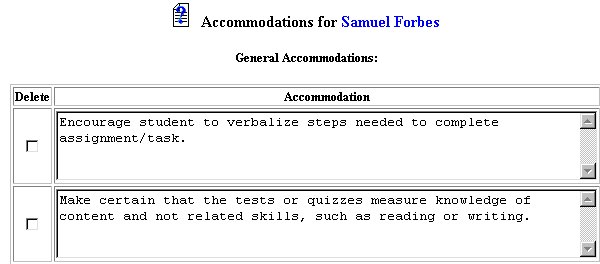
Step 2 - Adding Custom Accommodations

The Adding Custom Accommodation part of the initial phase is now complete for the selected student. If you wish to add an accommodation from an existing list for the selected student, go to the step-by-step help section for Adding Accommodations from Existing Lists. If you wish to continue the initial phasefor the selected student, click once on the Special Ed ServicesButton in the Students Menu Bar.
If you prefer to go to another area to enter IEP data, click on that Button in the Students Menu Bar.
If you prefer to access another part of the database (i.e. Schools, Users, etc.), click once on the Main Menu Button of the Students Menu Bar to access the Main Page and the Main Menu Bar.