Initial Phase - Editing Participation Information
Participation information will determine what aspects of standardized (or other system-wide) assessments the student will participate in during the course of the year. The default setting is for the student to NOT participate in the listed assessments. To change the status of the student's participations, follow the steps below.
Most fields will have an asterisk or a question mark beside them. You may click once on these symbols to access the help for that field. All fields with an asterisk ( * ) to the right MUST HAVE INFORMATION ENTERED before the data can be entered into the EasyIEP TM database. All fields with a question mark ( ? ) to the right do not require information to be entered at this time, and, can be edited or updated at any time.
Accessing the Students Area
To add information for a selected student or students, you must access the Students area. This area will appear after you click once on the Students Button on the Main Menu Bar. The Main Menu Bar will be at the top of the Main Page after you log-in. The words "Main Menu" will be darkened to distinguish it.
NOTE: If you have been working in another area of EasyIEP TM(i.e. Schools, School System, Users), and the Main Menu Bar is not at the top of the browser page, click once on the Main Menu Button of the existing menu bar at the top of the browser page. This will take you to the Main Page. The Main Menu Bar will be at the top. Click once on the Students Button to access the Students area.
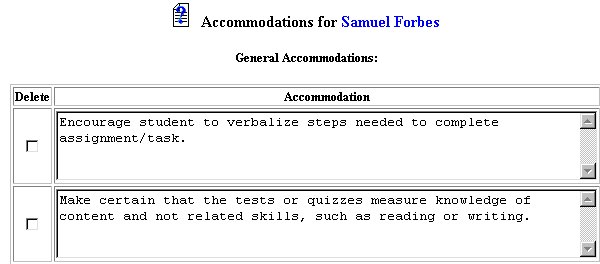
Step 1 - Accessing the Accommodations Page

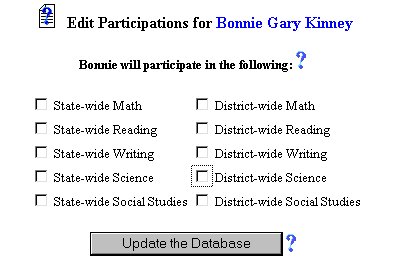
Step 2 - Accessing the Edit Participations Page


Step 3 - Editing the Student's Participations
Step 4 - Updating the Database
IMPORTANT: No information (data) will be entered into the database unless the Update the Database Button has been clicked after you have entered your data on the page.
You will be returned to the Accommodations Page. The new areas will be added.
You may now add accommodations for each of the new participations.
The Editing Participation Information is now complete for the selected student. If you want to add accommodations for the edited participations ,remain on this Page and follow the step-by-step help for AddingAccommodations. If you wish to continue the initial phasefor the selected student, click once on the Special Ed Services Button in the Students Menu Bar.
If you prefer to go to another area to enter IEP data, click on that Button in the Students Menu Bar.
If you prefer to access another part of the database (i.e. Schools, Users, etc.), click once on the Main Menu Button of the Students Menu Bar to access the Main Page and the Main Menu Bar.